
Last updated November 22, 2026
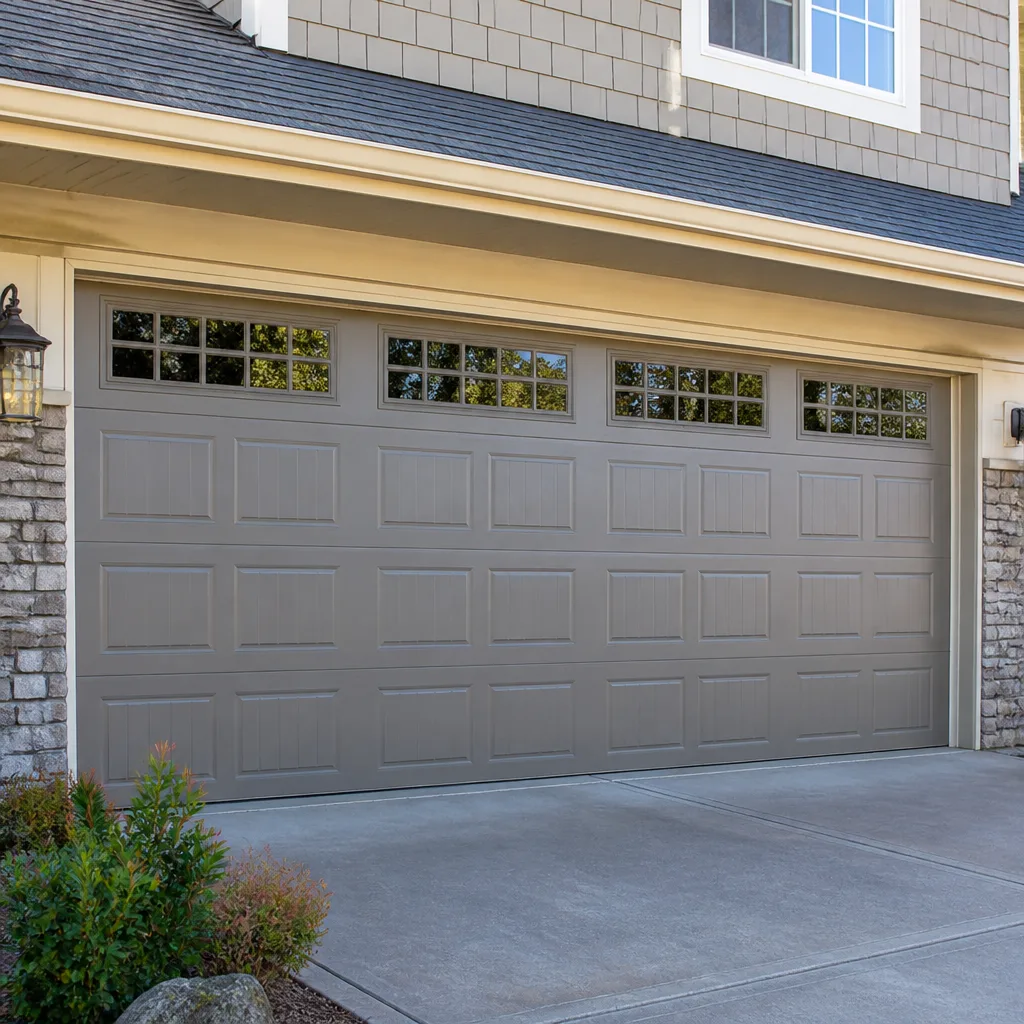 Raised-panel steel
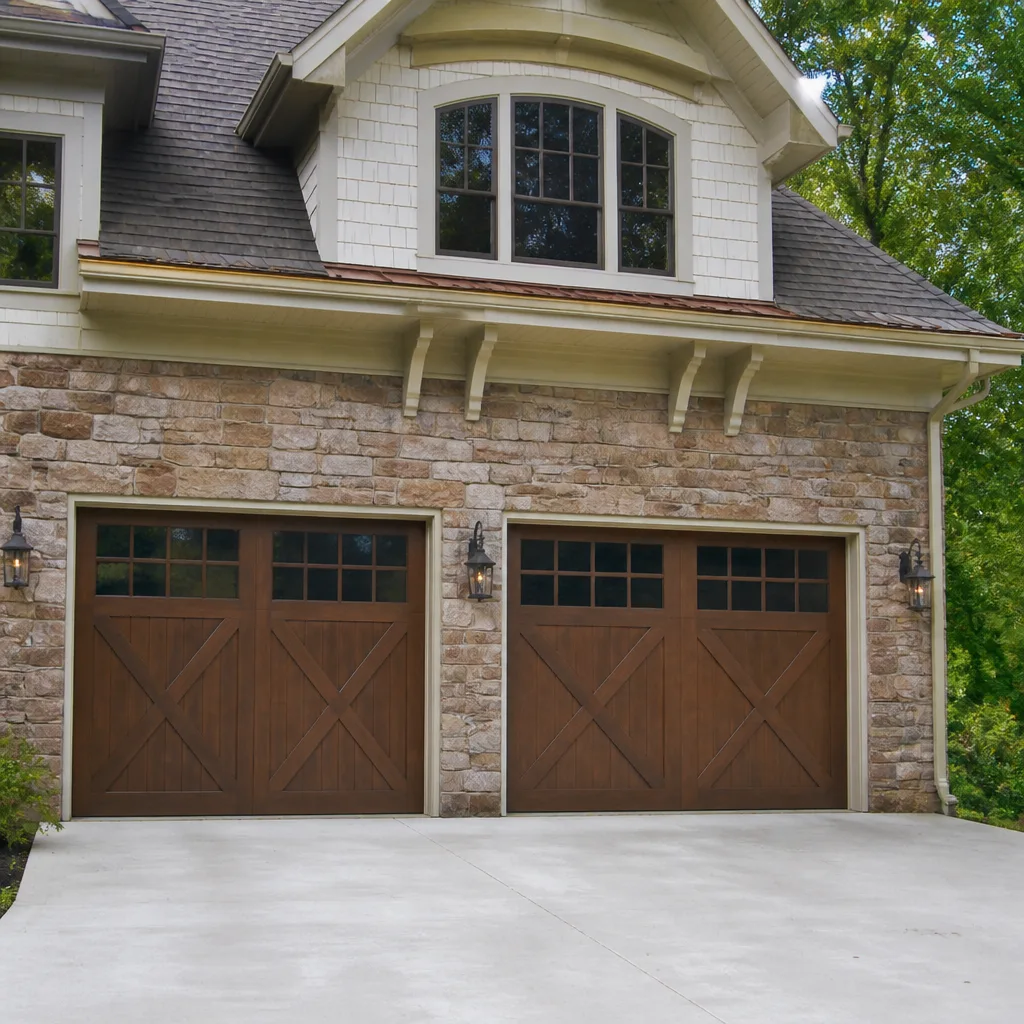 Carriage house
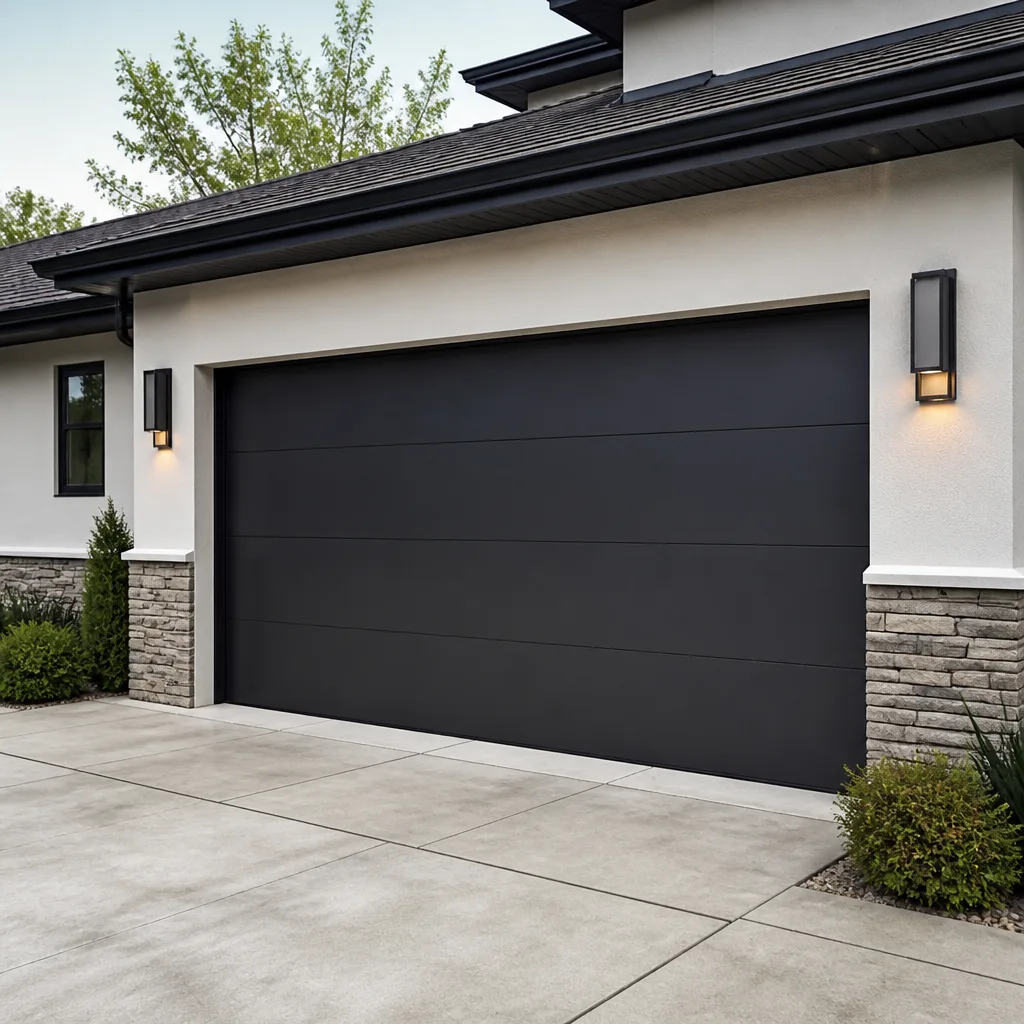 Modern flush
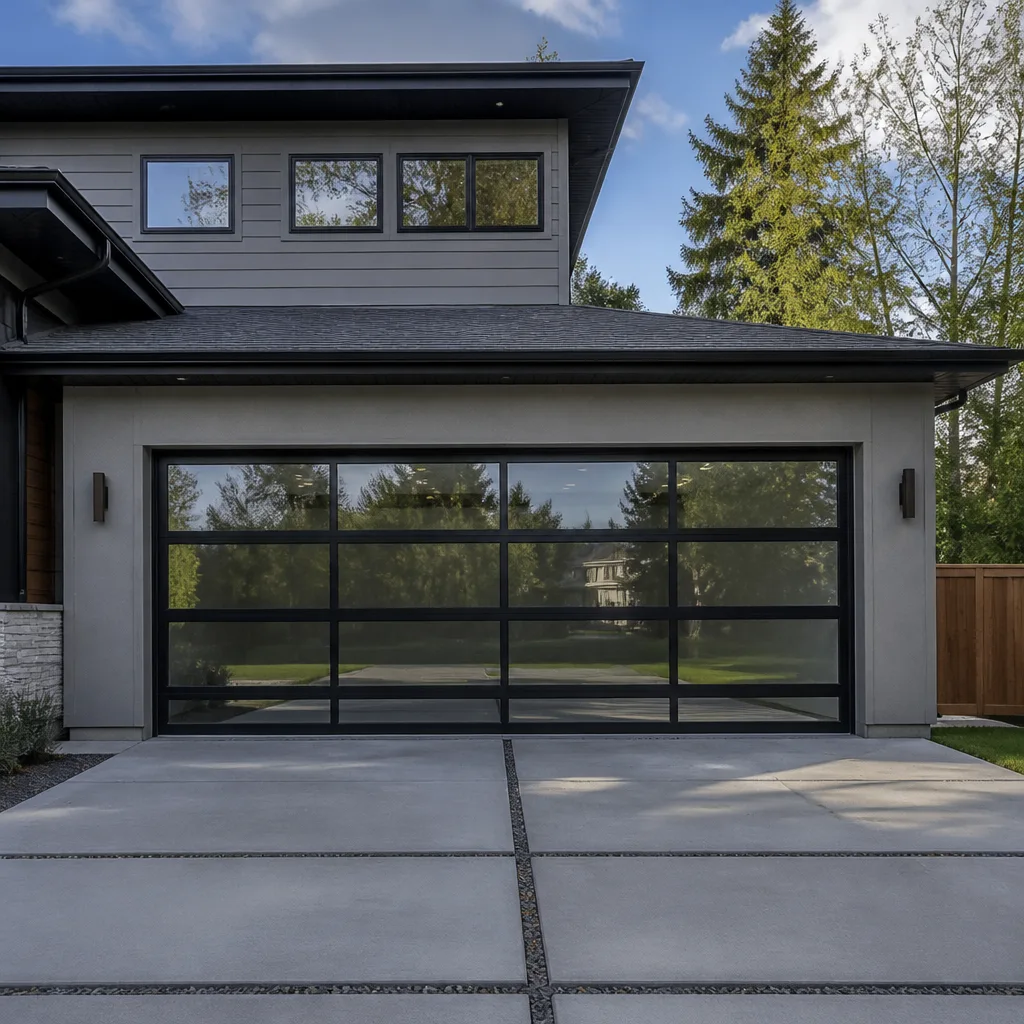 Full-view glass
 LiftMaster openers
 Chamberlain openers
Full 25-point door and opener safety check with every visit - springs, cables, rollers, tracks, and your LiftMaster or Chamberlain opener included
You get a price before we start. It does not change when the pro arrives.
Get your free estimateDIY vs Professional Garage Door: The Longmont Homeowner’s Decision Guide
A torsion spring holds enough stored energy to break a wrist the moment it lets go. That’s not a scare tactic – it’s physics. Yet the same homeowner who’d never touch that spring can replace a bottom weather seal or reprogram a keypad in twenty minutes flat with no risk at all. The DIY question for garage doors was never about how handy you are. It’s about which specific task you’re standing in front of. This guide draws that line task by task: what’s genuinely safe to handle yourself, what needs professional tools but not necessarily a professional, and what should never be a DIY job under any circumstances. We’ll also run the Longmont math on when DIY actually saves money and when a failed attempt costs more than the service call would have. By the end you’ll know exactly where your project sits.
Quick Answer
Most garage door maintenance and small adjustments are safe for a homeowner to do. Anything involving torsion springs, cables, bottom brackets, or the high-tension hardware that lifts the door should be handled by a trained technician, full stop. In Longmont, the in-between jobs – opener replacement, panel swaps, sensor alignment – come down to whether you have the right tools and a second set of hands, and the money you save doing them yourself is usually smaller than homeowners expect once parts and rework are counted.
Styles & brands we work with
- Raised-panel steel
- Carriage house
- Modern flush
- Full-view glass
- LiftMaster openers
- Chamberlain openers
Table of Contents
- Where the DIY Line Actually Falls
- Task-by-Task: What’s Safe, What’s Not
- The Math: When DIY Saves Money and When It Doesn’t
- What a “DIY-Friendly” Opener Install Really Involves
- Longmont Climate and Why Spring Tension Is a Local Problem
- You Already Tried It: How to Describe the Problem
- Common Mistakes to Avoid
- When to Call a Professional
Where the DIY Line Actually Falls
The garage door industry has a strange habit of treating the whole assembly as equally dangerous. It isn’t. A garage door is a collection of parts that range from completely benign (a rubber seal, a photo-eye lens, a remote battery) to genuinely lethal in the wrong hands (a wound torsion spring under hundreds of pounds of torque). Treating the whole thing as untouchable is as unhelpful as treating the whole thing as a weekend project.
The line isn’t skill. It’s stored energy. Ask one question about any task: if something slips while I’m doing this, what happens? If the answer is “a bolt drops on the floor,” you’re in homeowner territory. If the answer is “a steel rod whips across the garage at head height,” you’re not. That’s the entire decision framework, and it holds whether you’re in Longmont or anywhere else.
Here’s how we break it down in practice:
- Group 1 – Homeowner-safe: Weather seals, bottom rubber, hinges, rollers, remote batteries, keypad programming, photo-eye cleaning, lubricating tracks and rollers, minor track tapping to realign a binding door, painting or staining.
- Group 2 – Professional tools, but low risk: Opener replacement (motor unit only, reusing the existing rail and bracket if compatible), panel replacement on a door at rest, safety sensor replacement, and balancing a door on its track.
- Group 3 – Never DIY: Torsion spring replacement or adjustment, extension spring replacement, cable replacement, bottom bracket removal, and any task that requires winding or unwinding a spring with winding bars.
Longmont’s housing stock includes a lot of 1980s and 1990s builds alongside newer construction in areas like Prospect and the neighborhoods off Hover Street. Much of that older stock still runs original extension springs, which carry their own risks and a different failure profile than modern torsion setups. If you’re not sure which system you have, look at the bar above the door: a horizontal shaft with springs coiled around it is torsion. Springs running parallel to the horizontal tracks are extension.
Task-by-Task: What’s Safe, What’s Not
This is the table we’d give any Longmont homeowner who asked us over the phone. Print it, tape it to the wall of the garage, and check before you pick up a tool.
Homeowner-Safe (Do It Yourself)
- Replacing the bottom weather seal. Pull the old rubber out of its retainer, slide the new one in. Twenty minutes, one tool, zero risk.
- Replacing hinges and rollers. With the door fully closed and no tension on the parts, these are bolt-on swaps. Use the door manufacturer’s replacement parts so the gauge is right.
- Lubricating tracks and rollers. A rag and a can of garage-door lubricant (not WD-40, which attracts dust) once or twice a year. Ten minutes.
- Cleaning and aligning photo-eye sensors. The two small lenses near the floor. Wipe them, then nudge one until the indicator light stabilizes.
- Reprogramming a remote or keypad. Done from the opener head unit. The manual for a LiftMaster or Chamberlain unit will walk you through it in under five minutes.
- Replacing the opener’s backup battery. For belt-drive openers with battery backup, this is a simple swap.
Professional Tools but Low Risk
- Replacing the opener motor unit. The unit itself is a swap if the existing rail and header bracket match, but the electrical connection, travel limit setting, and safety sensor beam alignment trip up most first-timers.
- Swapping a damaged section panel. Doable on a door at rest, provided the replacement panel is an exact model match. Measure twice and confirm the gauge.
- Replacing a wall-mounted control panel. Simple wiring, but the low-voltage run must be correct so the opener doesn’t misread the signal.
- Adjusting opener travel limits. The programming sequence is in the manual; getting it wrong means the door either won’t close or slams.
Never DIY
- Torsion spring replacement or adjustment. These springs are wound under hundreds of pounds of tension. There is no safe way to handle them without a winding bar set and the training to know how to use one.
- Extension spring replacement. Older systems, and still dangerous. Extension springs fail with a snap that can send hardware across the garage.
- Cable replacement. The cables are what hold the door on the track when the spring lets go. Frayed cables are a red flag to stop and call.
- Bottom bracket removal. The bottom corner brackets take the full tension of the cable. Removing one with the door down is the classic garage door injury.
- Any spring wind or unwind. No winding bars, no tension gauge, no reference chart means no safe attempt.
The Math: When DIY Saves Money and When It Doesn’t
DIY is pitched as a way to save money, and sometimes it is. But the savings calculation most homeowners run is incomplete – it counts the part, not the risk of rework, the tool you have to buy, or the second trip to the hardware store. Here’s how it actually balances out.
Consider a failed torsion spring. The spring itself might run you $40-$80 for a matched pair at retail, depending on the size and brand. That looks like a massive saving over a professional repair. In practice, you can’t safely install that spring without winding bars (another $30-$60), a tension reference chart, and either a scale or enough experience to size tension to the door weight. And that’s before the injury risk. The math doesn’t close the way it looks on the front end.
Consider an opener replacement. A typical LiftMaster or Chamberlain unit runs $150-$300 retail. The professional install on top of that is typically a few hundred more depending on the door. If you do the install yourself and everything goes right, you save the labor. If the travel limits are off and the door slams, or the safety sensors are misaligned and the opener reverses every time, you’re calling a technician to fix a problem you created – and that call typically costs more than the labor would have at the start.
Where DIY genuinely saves real money:
- Weather seal replacement. A $20-$50 part and twenty minutes, versus a service call minimum.
- Lubrication and minor adjustment. Almost pure labor, and the tools are common.
- Remote and keypad programming. Zero parts cost, zero labor cost if you read the manual.
- Roller and hinge swaps. Inexpensive parts, straightforward swaps, no tension involved.
Where DIY looks like savings but usually isn’t:
- Torsion and extension spring work. The part cost is a fraction of the job; the risk and the rework aren’t.
- Opener installation. The math only works if nothing goes wrong on the alignment and safety sensor side.
- Cable replacement. Even a successful DIY attempt leaves you with a door that needs a full balance check.
- Panel replacement when you’re not sure of the gauge or model. A mismatched panel is a part you can’t return.
For Los Angeles-grade pricing, professional estimates here in Longmont are usually in the hundreds for a standard repair and higher for a spring replacement or full opener job. Those are typical ranges; the written estimate sets the final number. If the job involves hardware or a spring, the cost of a professional is usually the cheaper path once you price in risk and rework.
What a “DIY-Friendly” Opener Install Really Involves
The marketing copy on a new opener box usually says “DIY-friendly” or “easy install” somewhere on it. What that means is the mechanical steps are documented. What it doesn’t mean is that any given install is a twenty-minute job. Here’s what actually has to happen when you put a new LiftMaster or Chamberlain unit up in a Longmont garage, and where most first-timers get stuck.
- Confirm compatibility with the existing rail and header bracket. If the old unit was a different brand or a much older model, the rail length and bracket position usually won’t match. Universal-fit openers exist, but they still need measuring.
- Disconnect the old opener safely. For a chain or belt drive, the door needs to be in the down position, the carriage released, and the electrical feed confirmed off at the breaker.
- Mount the new unit to the ceiling and header. The bracket angle matters. Get it wrong and the rail sags, the door drags, and the opener strains.
- Set the travel limits. Every opener has an up-limit and a down-limit. These have to match the door’s actual travel. Miss by an inch in either direction and the opener either won’t latch the door or drives it into the floor.
- Align the safety sensors. The two photo-eyes near the floor need to be level, facing each other, and clear of obstructions. This is the step that stops most first-timers, because a sensor that’s slightly misaligned will make the door reverse on close, and the symptom looks like a much bigger problem.
- Wire the wall control. Low-voltage, but the wire has to be run correctly. Stapling it too tightly or crossing it near high-voltage can interfere.
- Pair remotes and any smart-home module. LiftMaster uses myQ, Chamberlain units often do too. Pairing is easy; getting both the remotes and the app working in tandem is where a lot of calls to us come from.
The step that trips up most people isn’t the mechanical install. It’s the sensor alignment and travel limit combination. When those are wrong, the door behaves unpredictably – it reverses halfway, won’t close, or closes and immediately opens. That pattern looks like a wiring failure to a first-timer when it’s usually a sensor one degree out of level. Our garage door opener repair calls often start with a homeowner who’s already installed the opener correctly but can’t get the sensor calibration right.
Longmont Climate and Why Spring Tension Is a Local Problem
Longmont sits at the foot of the Front Range, which means the garage door here runs a wider temperature swing than in most of the country. A door that’s been through a below-zero cold snap in January and a 95-degree July afternoon will see steel springs and steel cables expanding and contracting across a range that’s hard on the material. Add the seasonal hail that comes through the Front Range with some regularity, and the door takes impacts that doors in milder climates don’t see. Weather seals wear faster, hinges loosen more, and springs lose their calibration sooner.
What does calibration mean in practice? A torsion spring is wound to a specific number of turns that correspond to the door’s weight and height. That number isn’t a universal constant – it depends on the spring’s wire gauge, inside diameter, and length. A technician replacing a spring measures the door’s weight and the spring’s specifications, then winds to the number that matches. Adjusting that tension to compensate for seasonal sag or a heavier door requires a tension gauge and the manufacturer’s reference chart, neither of which a typical homeowner has.
Here’s why that matters for the DIY decision: a door that’s been running on slightly under-tensioned springs for a few seasons will feel heavier when you lift it. A homeowner may assume the opener is failing and replace that instead. The opener was fine. The spring was the problem. In Longmont, this misdiagnosis happens most often in the spring and fall, after a temperature swing when the door suddenly feels stiff. Before you replace an opener, check whether the door is balanced: disconnect the opener, lift the door halfway, and let go. A balanced door stays put. A door that drops is telling you the springs are the problem.
Hail damage on the door panels is the other local pattern. A dented or creased panel changes the way the door runs, and a door that’s been through a hail hit may need a panel swap or in some cases a full garage door installation if the structural integrity of the door is compromised. Neither is a DIY job once the door’s weight distribution changes.
You Already Tried It: How to Describe the Problem
If you’ve already attempted a repair and made things worse, the most useful thing you can do for the technician – and for your own bill – is describe exactly what you did. A clear description turns a two-hour diagnostic into a thirty-minute fix. Here’s the sequence we recommend when you call us after a failed DIY attempt.
- Start with the original symptom. What was happening before you touched anything? Was the door not opening, not closing, making a noise, or behaving inconsistently?
- List every part you touched and every step you took. “I replaced the bottom seal and then the door started dragging on the right side” is more useful than “the door is broken.”
- Note what you observed during the attempt. Did a roller come out? Did a cable look frayed? Did you hear a pop or a snap? Did anything fall?
- Then describe the current symptom. What is the door doing right now that it wasn’t doing before?
- Photograph the door from both sides and the opener head. Send these with the call if the platform allows it. A photo of the spring setup takes a lot of guessing off the table.
Two things to avoid when describing a failed attempt. First, don’t skip the part where you say you attempted a repair – a technician who walks in expecting a simple fix and finds a partially disassembled assembly will need longer, and the quote will reflect it. Second, if you attempted anything on the spring side – even a partial wind or unwind – say so up front. That changes the safety protocol for the visit.
For broken or dangerous situations, call us directly. We answer 24/7. Fast dispatch from 7am to 7pm, Sunday through Friday. We’re upfront about what we’ll need to see before we quote the work, and we’ll quote it in writing before we start.
Common Mistakes to Avoid
- Attempting a spring wind with improvised tools. Screwdrivers and pry bars are not winding bars. They slip, and the spring releases. This is the single most common cause of garage door injury, and there’s no safe shortcut around it.
- Replacing the opener when the spring was the problem. If a door suddenly feels heavy, the opener didn’t fail. Before you buy a new unit, disconnect the opener and test whether the door is balanced. In Longmont, the temperature swing between seasons makes this misdiagnosis common.
- Buying a bottom seal without checking the retainer type. Not every door uses the same retainer. Measure the channel height and confirm the fit before you cut the seal to length.
- Greasing the tracks. Tracks should be clean and dry, not lubricated. Lube on the tracks attracts grit and causes the rollers to slide instead of roll. Lubricate the rollers, not the tracks.
- Skipping the sensor alignment after an opener swap. The door will run for a few cycles and then start reversing unpredictably. That’s almost always the sensors, not the opener.
- Trying to pry a bent panel back into place. A panel that’s been bent out of shape has lost structural integrity. Bending it back can make the door run out of balance, which stresses every other component.
- Not shutting the breaker before the opener work. Opener installs are low-voltage on the control side, but the motor feed comes off the breaker. Confirm it’s off before you put a tool on the unit.
See the difference
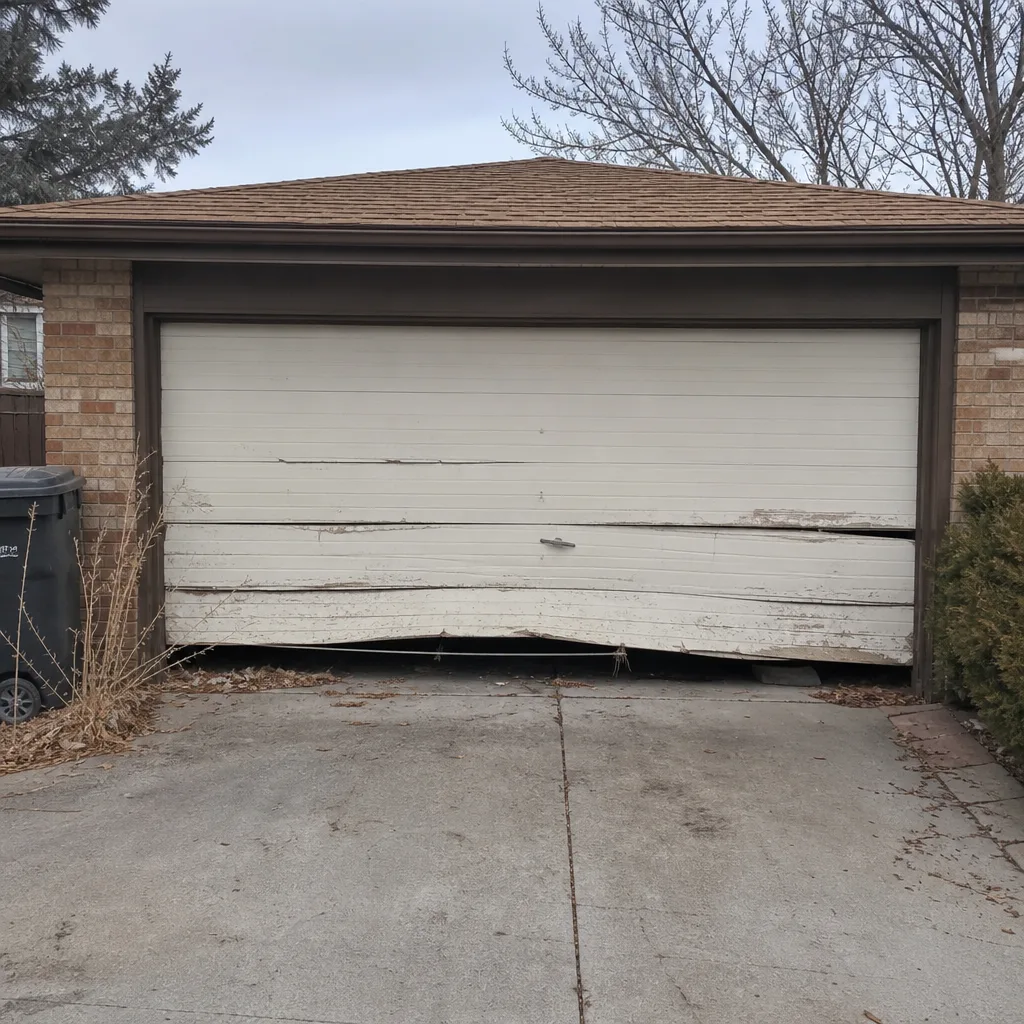 Before
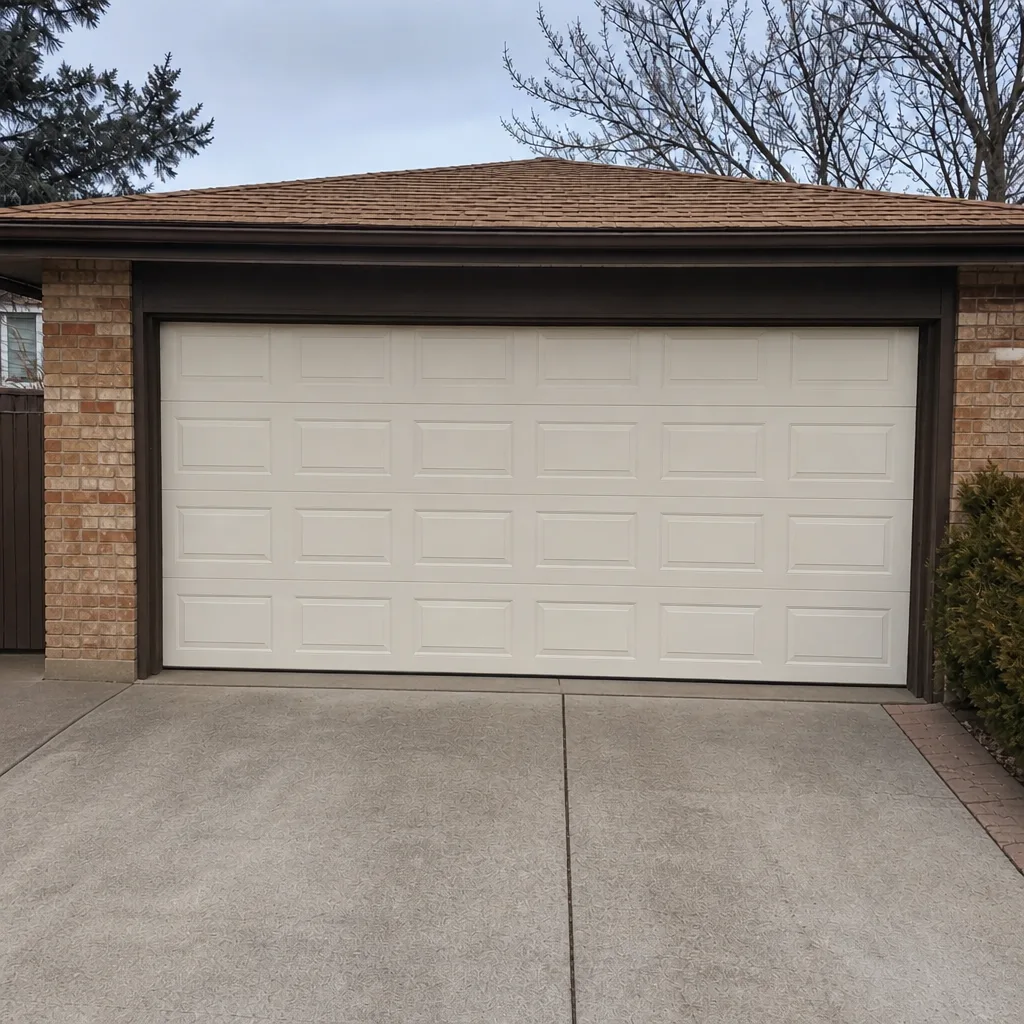 After
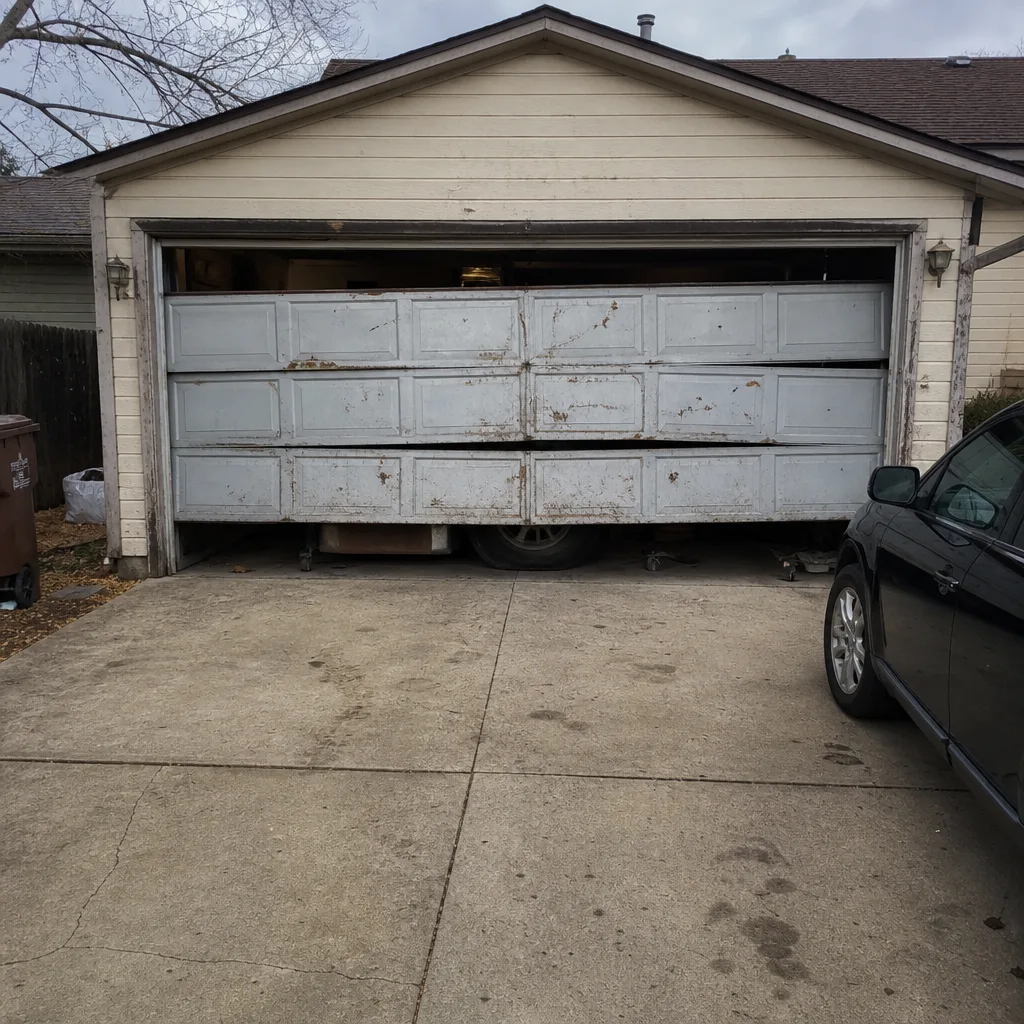 Before
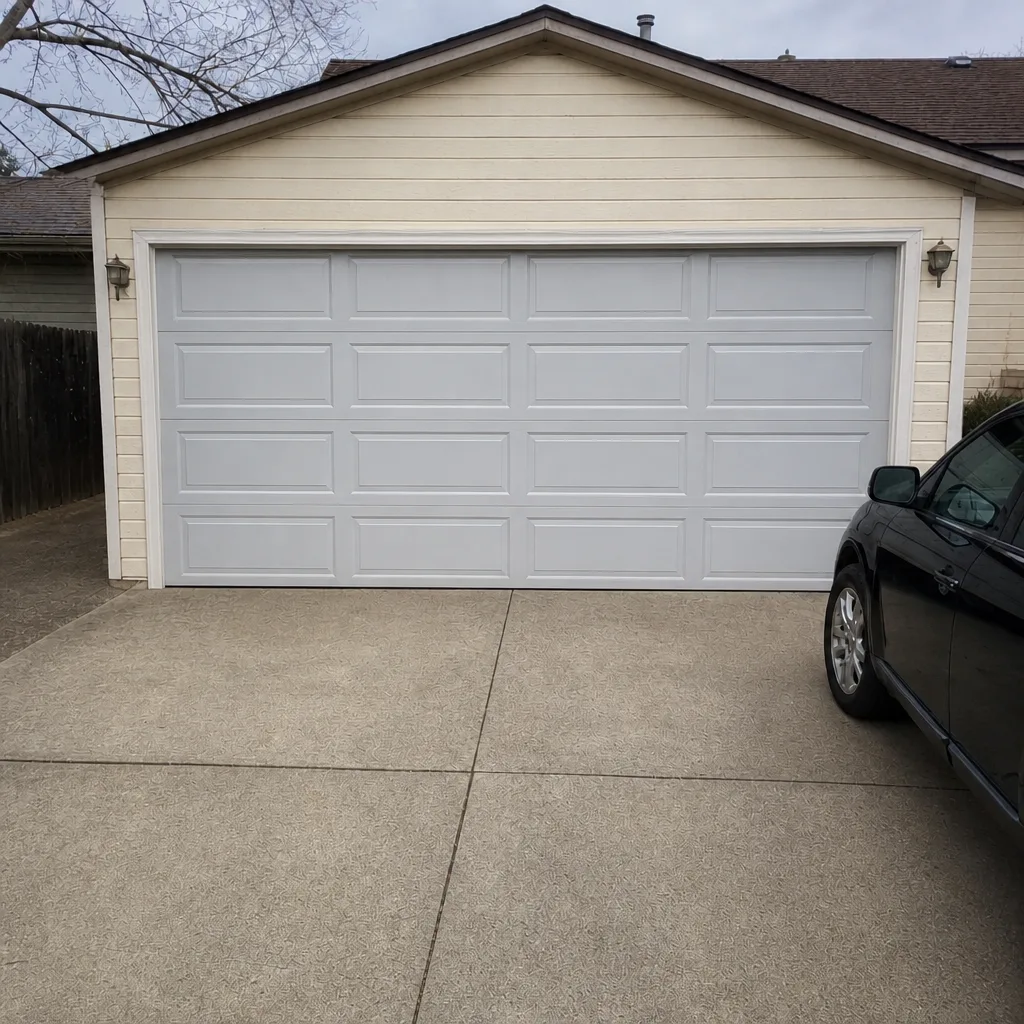 After
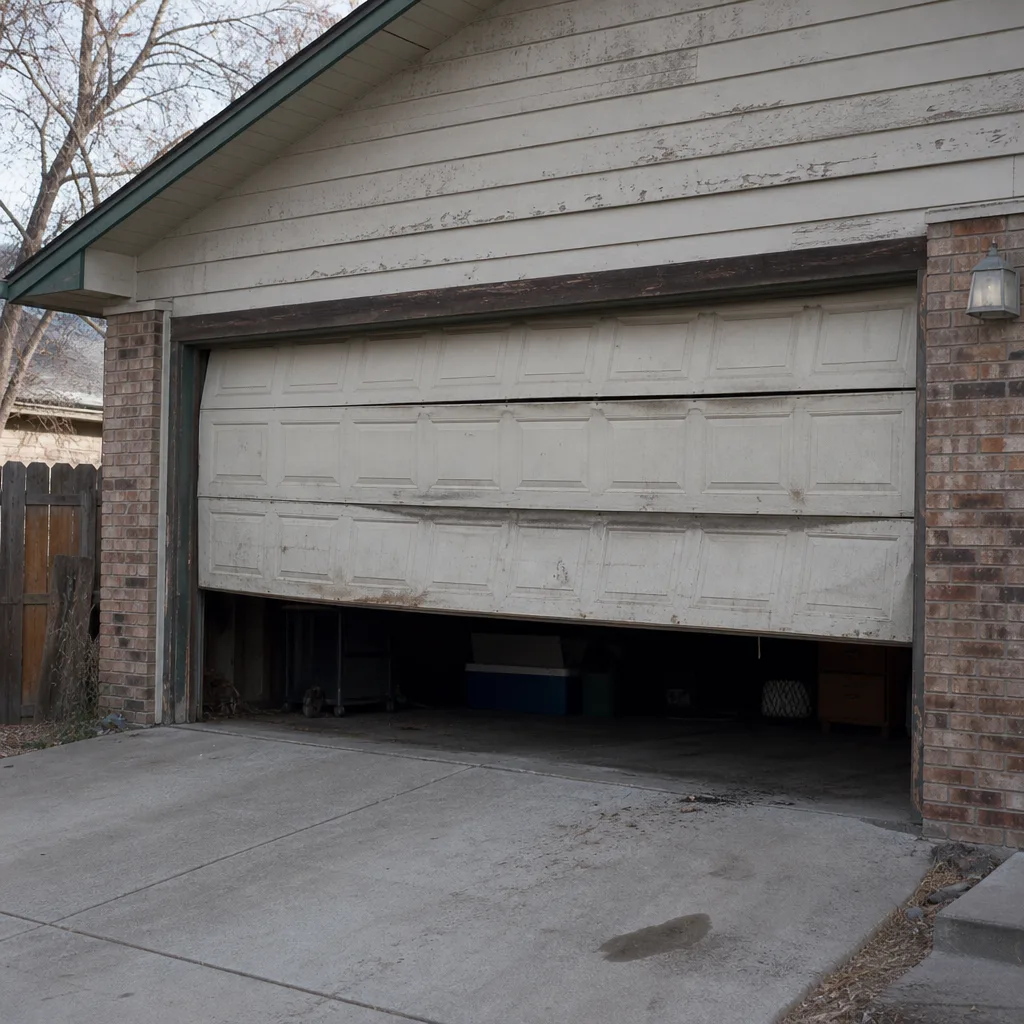 Before
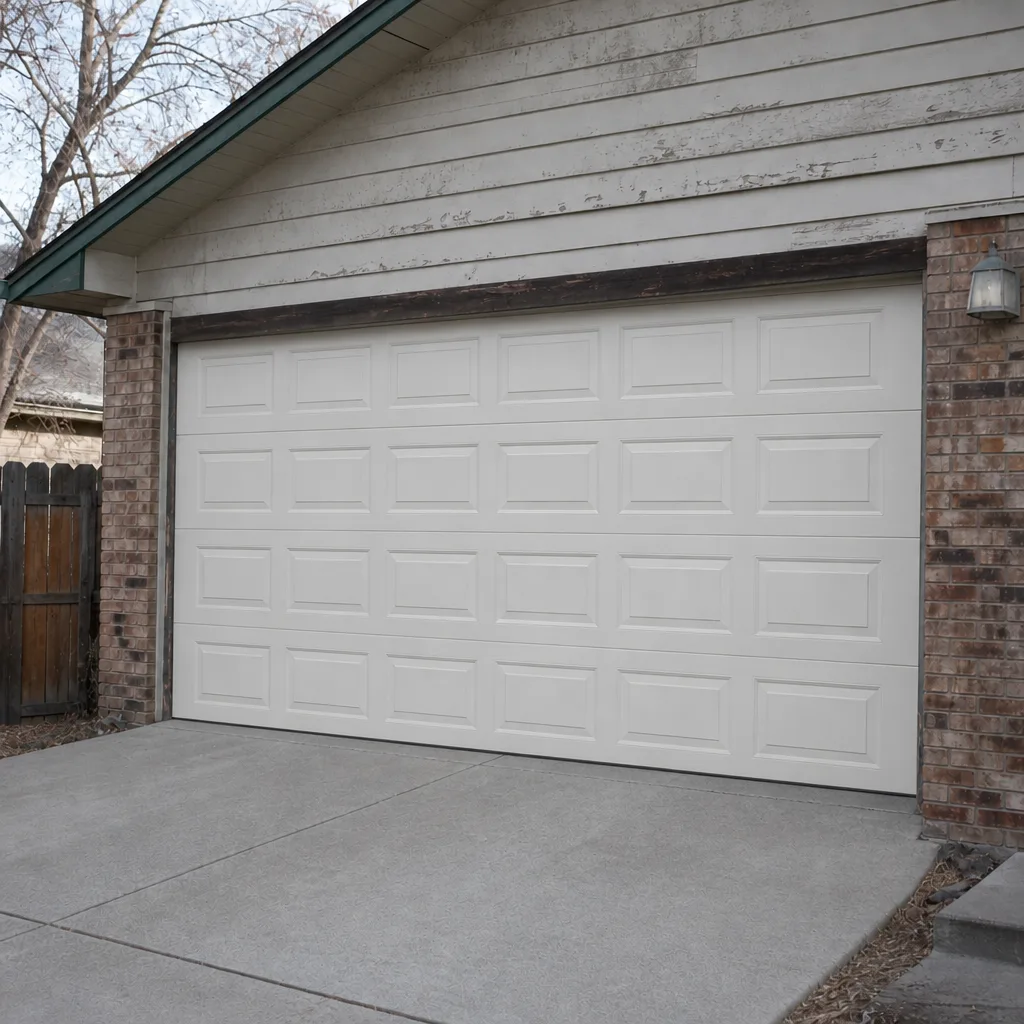 After
When to Call a Professional
Call a professional for any task that touches a torsion spring, extension spring, cable, or bottom bracket – five jobs, no exceptions. Call for a door that’s out of balance, a door that slams or reverses unpredictably, and any door that’s been in a collision or sustained hail damage that changed its shape or weight distribution. Call if you’ve attempted a repair and made things worse; the sooner we see it, the less rework there is. Call for opener installations where the existing rail doesn’t match the new unit or the sensor alignment is giving you trouble. And call for anything that feels unsafe – a spring that’s snapped and hanging, a door that’s partially off its track, or a door that won’t close and leaves the home unsecured.
Longmont Garage Door Repair Pros offers free estimates in Longmont – call (888) 574-5680. We answer 24/7. Fast dispatch from 7am to 7pm, Sunday through Friday. Our technicians have up to 15 years of experience, and they work on the equipment Longmont homes actually have – LiftMaster, Chamberlain, Genie, Raynor, and the rest of the major brands. The written estimate sets the price before any work starts, so you know the number before the job begins.
Frequently Asked Questions
No. Torsion and extension springs are wound under hundreds of pounds of stored tension and the failure mode is serious injury. There is no safe DIY method without a trained hand and the correct winding bars. Call (888) 574-5680 for a free estimate – we handle spring repair as a dedicated service.
Spring replacement is priced per spring, and a matched pair is usually replaced together, so a pair costs about twice a single spring. Ranges vary with door size and height. The written estimate you get before work starts is the actual price. Call (888) 574-5680 for an exact quote – estimates are free.
It depends on what you’re replacing. A direct swap of the same brand and rail setup can work for a confident DIYer. But the travel limits and safety sensor alignment have to be right, and that’s where most first-timers get stuck. If you’re not certain on those, the labor you save upfront often goes back into a repair call to fix the alignment. Call us and we’ll quote the install before you decide.
No. A door that’s become heavy or stiff is almost always a spring problem, not an opener problem. In Longmont, this shows up most often after a temperature swing. Disconnect the opener and lift the door halfway; if it drops, the springs are under-tensioned and need a professional. Call (888) 574-5680 for an estimate.
Look above the door. A horizontal shaft with springs coiled around it is torsion. Springs running parallel to the horizontal tracks along the sides are extension. Torsion systems are the modern standard and can be identified in ten seconds. Extension springs on Longmont’s older homes carry their own risks and are normally replaced with the door’s hardware in mind.
We answer 24/7 and dispatch fast from 7am to 7pm, Sunday through Friday. A failed attempt at a repair is exactly the kind of call we handle regularly – describe what you did and what’s happening now, and we’ll book it into the next opening. Call (888) 574-5680. Estimates are free and the price is set by the written quote before work starts.
The Bottom Line
The DIY vs professional line on a garage door isn’t about your skill. It’s about stored energy. Seals, hinges, rollers, remotes, and sensor cleaning are homeowner jobs; springs, cables, and bottom brackets are not. In Longmont, the climate and the older housing stock make under-tensioned springs the most common misdiagnosed problem – homeowners replace openers that were never the issue. If you’re not sure which side of the line your project sits on, the safe answer is to get a free written estimate before you pick up a tool. Call (888) 574-5680. We answer 24/7. Fast dispatch from 7am to 7pm, Sunday through Friday. When the job needs professional hands, we also handle garage door repair and full garage door installation through the same team that takes the call. Our technicians have up to 15 years of experience across the major brands, and every estimate is free with the price confirmed in writing before any work starts. If you’d like to see how we work, start at Longmont Garage Door Repair Pros, or call for an estimate today.
Written by the team at Longmont Garage Door Repair Pros.